Servu has released a “beta” version of the Sage (One) Accounting Integration. Details on how to setup your account can be found below.
As noted in Company Settings, this integration is very much in its early stages. We only support Sales Invoices currently. Please read the below documentation thoroughly before setting up your integration. If you require any assistance or wish to discuss this more, please contact your account manager.
Difficulty: Moderate
Time to Complete: roughly 15 minutes
Step 1 – Activate the Integration #
First, visit your Company Settings in Servu, click the Integrations tab, then open Sage Accounting:
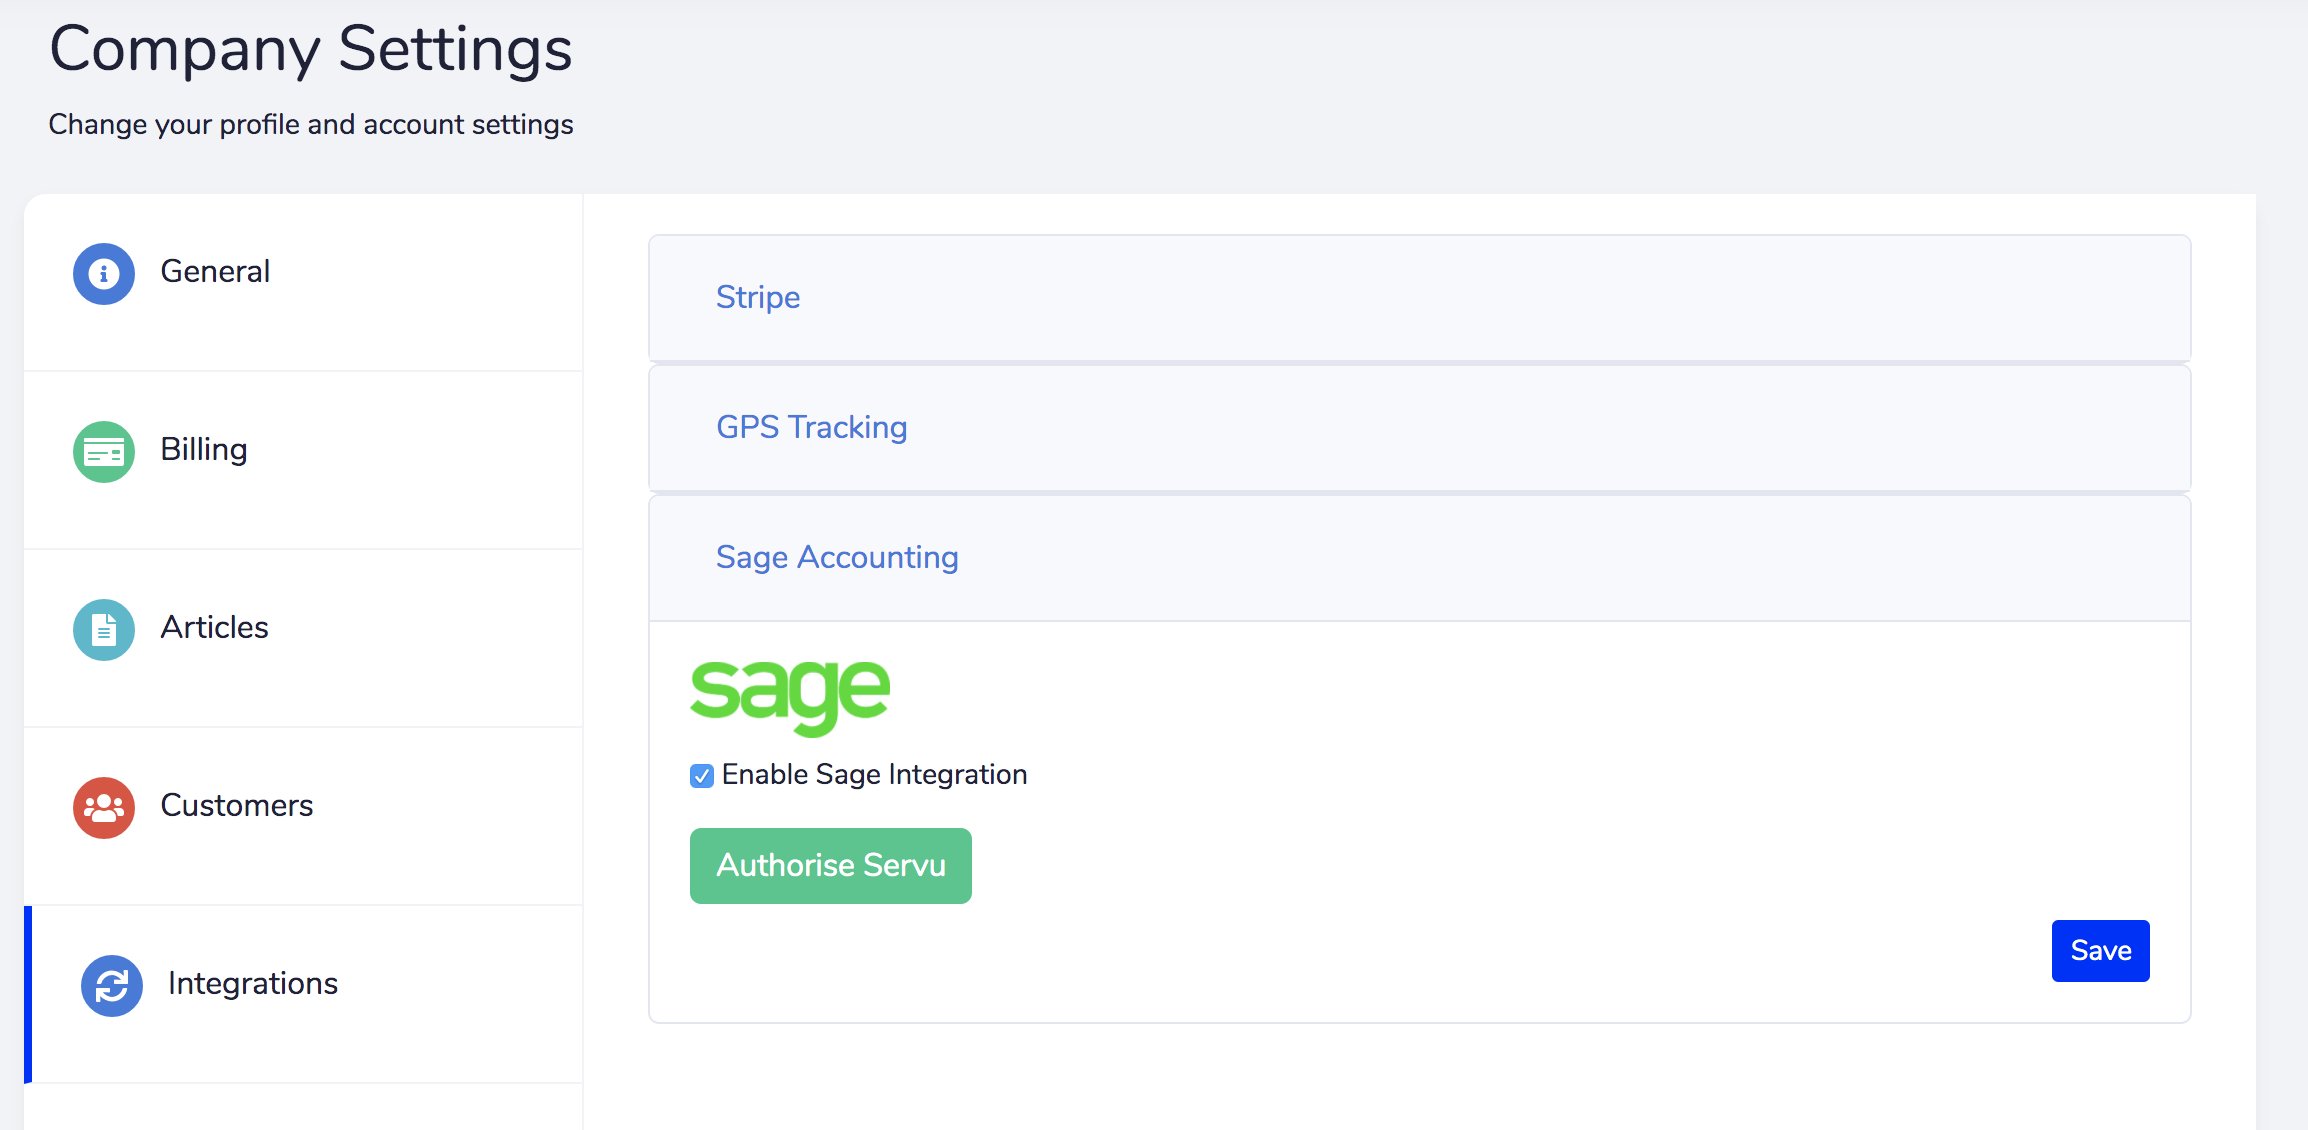
Tick the ‘Enable Sage Integration’ checkbox, then click ‘Authorise Servu’.
Step 2 – Approve Access #
After clicking the button, you will be taken to Sage, you will be prompted to log in, if not already, and approve access for the integration:
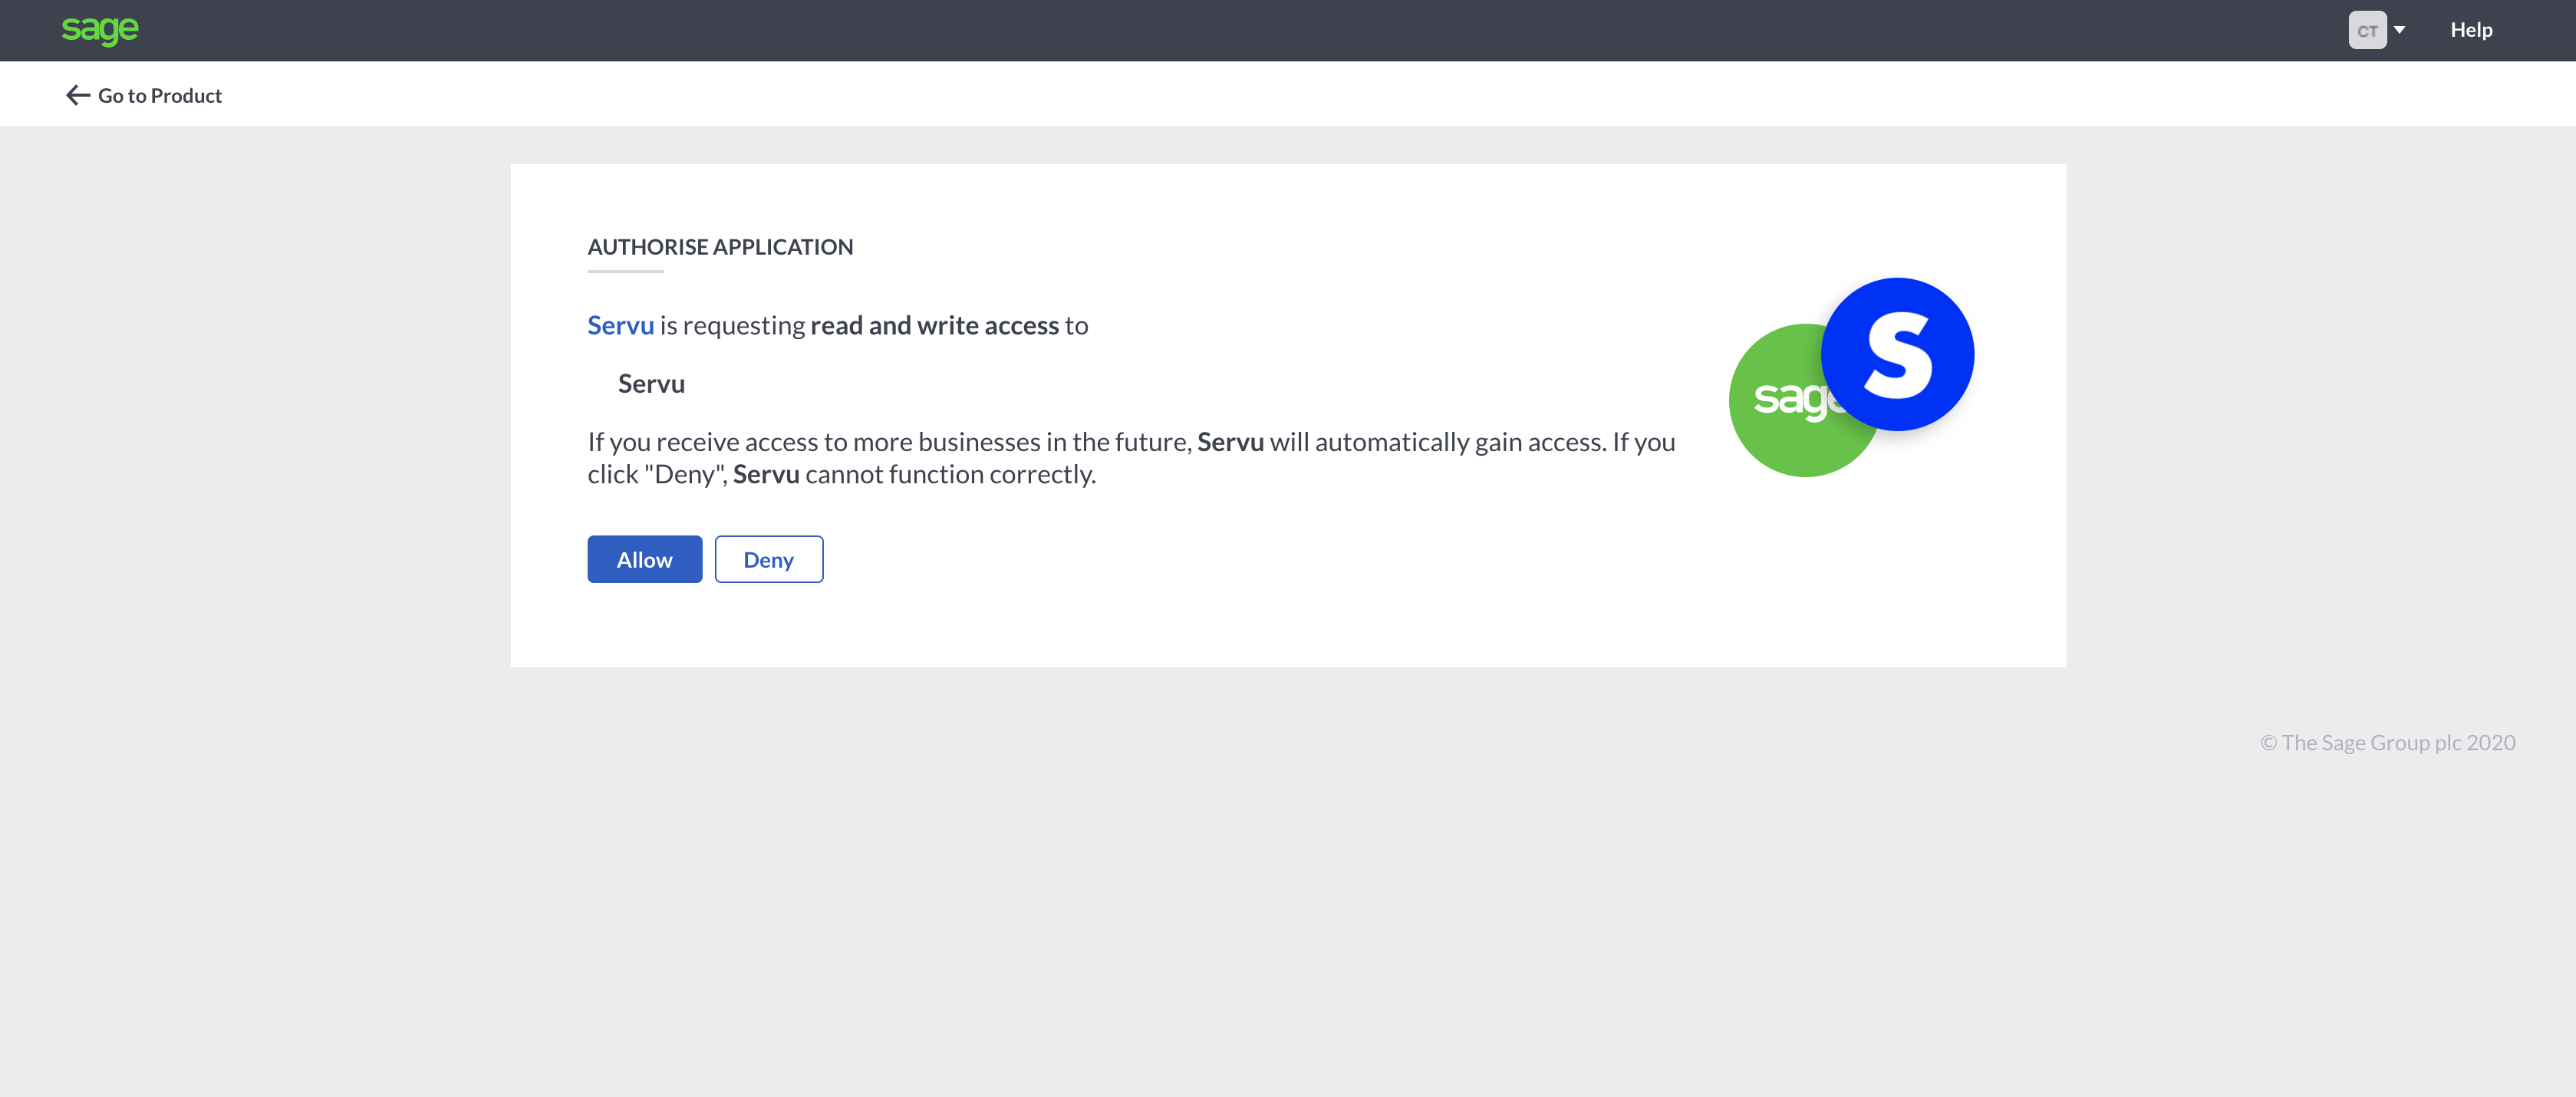
Click ‘Allow’, you will be taken back to the Servu Company Settings screen.
Step 3 – Customise Automations #
Once you are taken back to Servu, you will have the ability to toggle the automatic import options:
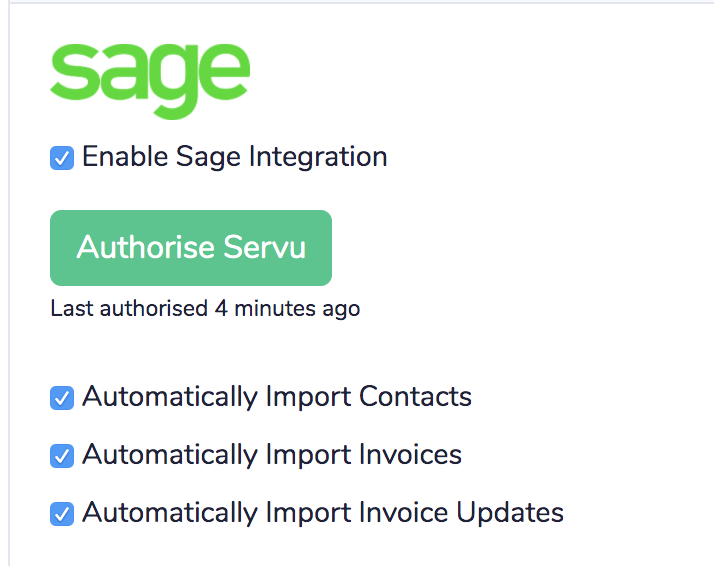
Automatically Import Contacts – this should always be left on – Sage will not import invoices without contacts.
Automatically Import Invoices – toggle this option to automatically import any NEWLY created invoices into your Sage account (useful if you want to alter more settings for this integration first).
Automatically Import Invoice Updates – toggle this option to automatically import any invoices updated to the Sage invoice. I.e. you change the price of a line item on an invoice in Servu – here you can decide whether you want to update the Sage invoice too.
Automatically Import Transactions – toggle this option to automatically import Sage transactions against Sales Invoices into Servu, meaning you’ll have a wider view to financial reporting and data within the Servu platform. This is currently one a one-way import from Sage -> Servu, so transactions created in Servu will not be imported into Sage.
Step 4 – Ledger Accounts #
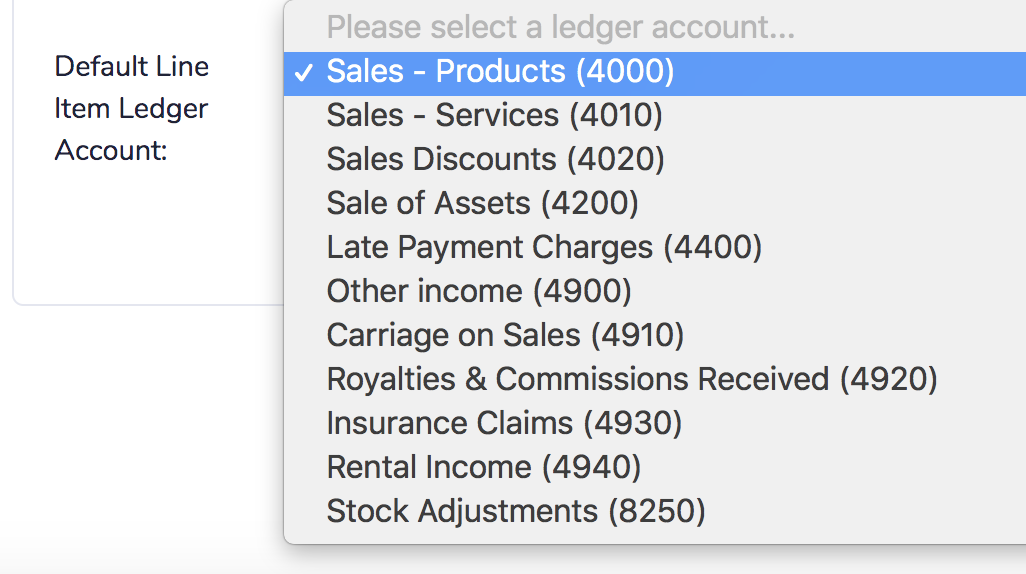
Sage requires each invoice line item to belong to a “ledger account” for reporting and tax purposes. Below the automations, you can select a default ledger account for all invoice line items: (these are pulled from your Sage account, should the account display names look different to those listed below)
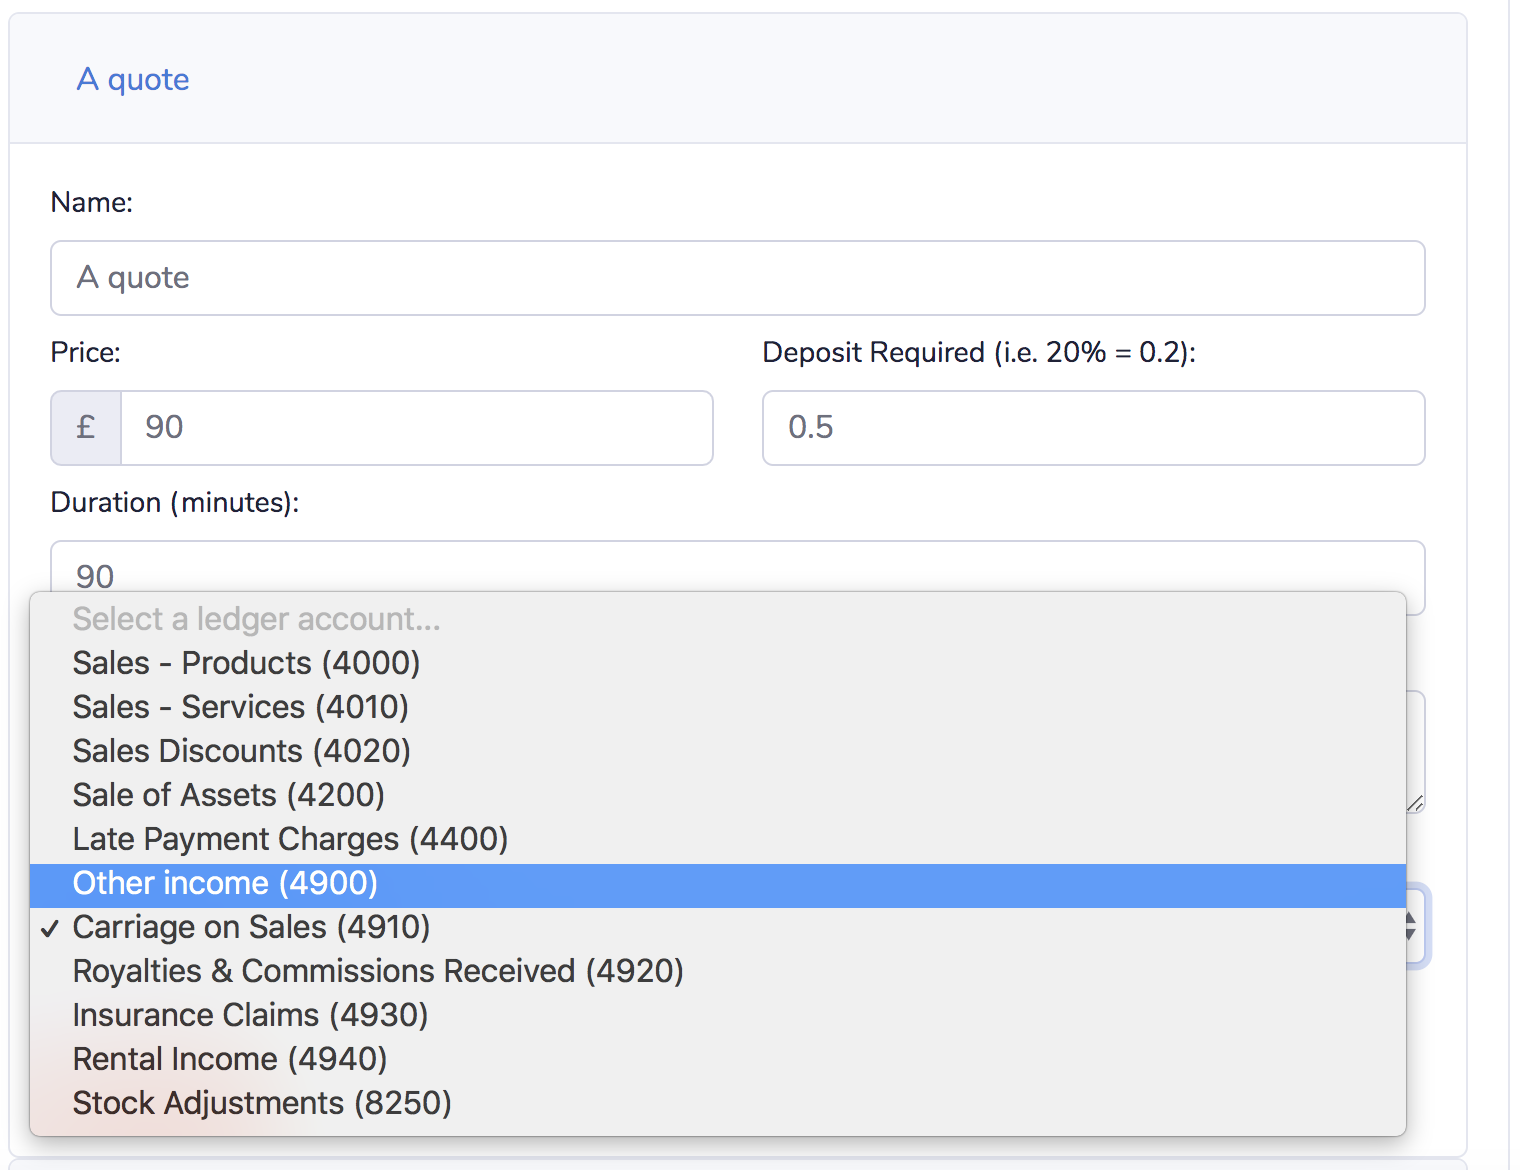
You can also apply default ledger accounts to service catalogue items. (Read here on how to create service catalogue items). Simply go to Company Settings and click on Service Catalogue. Open up a catalogue item, and select a default ledger account at the bottom, then click save to make your changes effective:
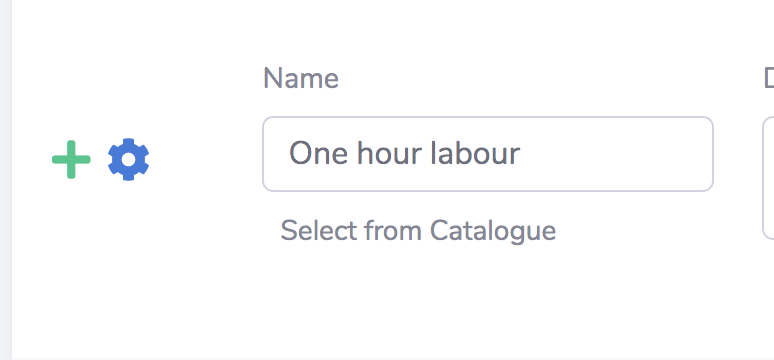
The final note regarding ledger accounts is that you can override defaults at a line item level. On an invoice line item, you should now see a settings cog:
Click on this to edit this line item’s ledger account:
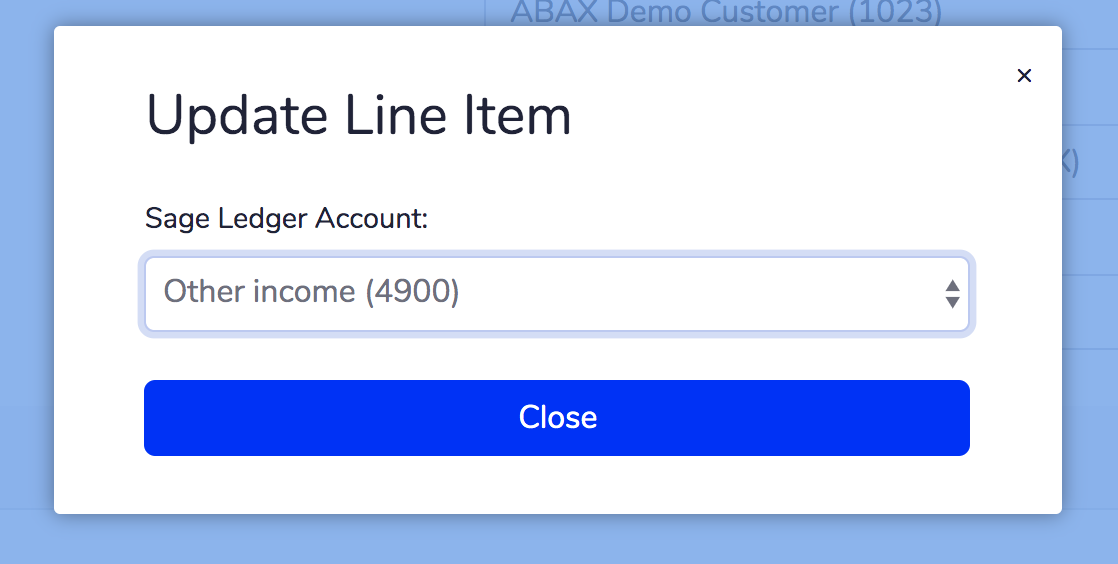
Simply change the account, then click close to make the change.
Step 5 – VAT Registered Companies #
For companies that are VAT registered and are marked as such on Sage, you can assign your Servu Tax Rate Templates to Sage Tax Rate Templates.
Go to Company Settings, click on Invoicing & Quoting and open up the Tax Rate Templates drop down.
You should see an additional column, here you can select your Sage Tax Rate Templates and assign them to your Servu templates:
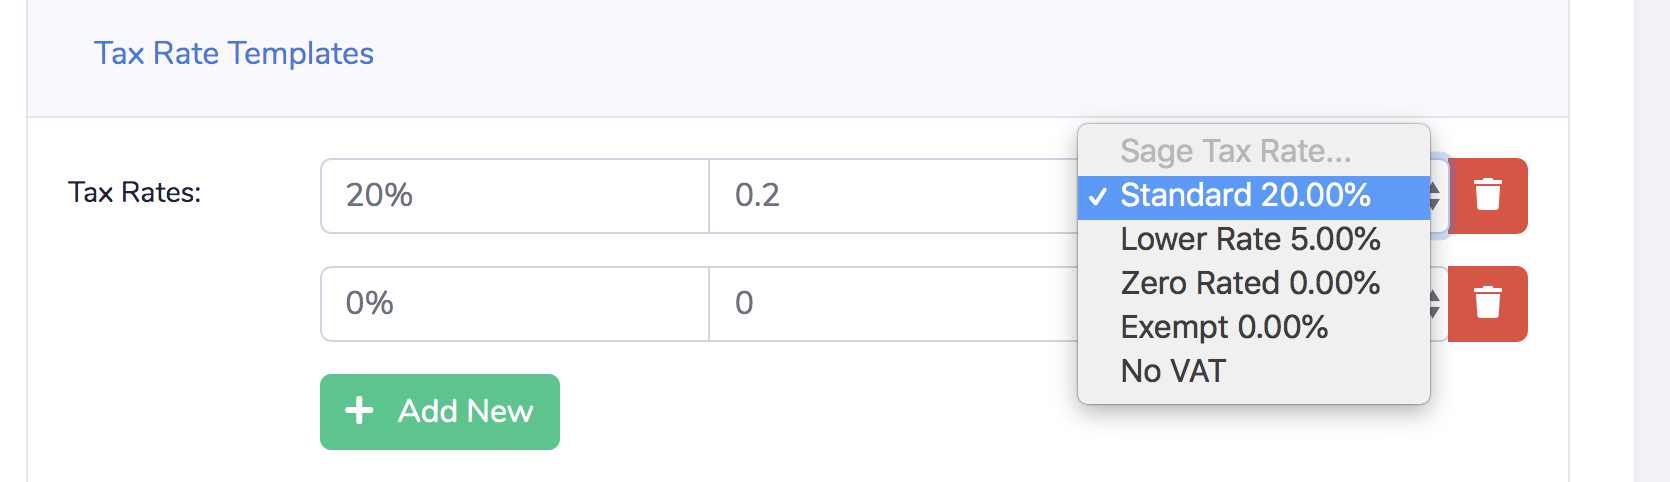
Be sure to press Save once you have matched your templates!
If you do not see the additional column, please check your VAT / Tax Scheme Status within Sage.
Should your company’s VAT status change at any point whilst your integration is live, you will need to re-authorise Servu with Sage. N.B. this will NOT affect your existing data.
Revoking Access #
Should you ever wish to turn off the Sage integration, visit Company Settings > Integrations > Sage Accounting, and disable the Sage Integration, then press save.
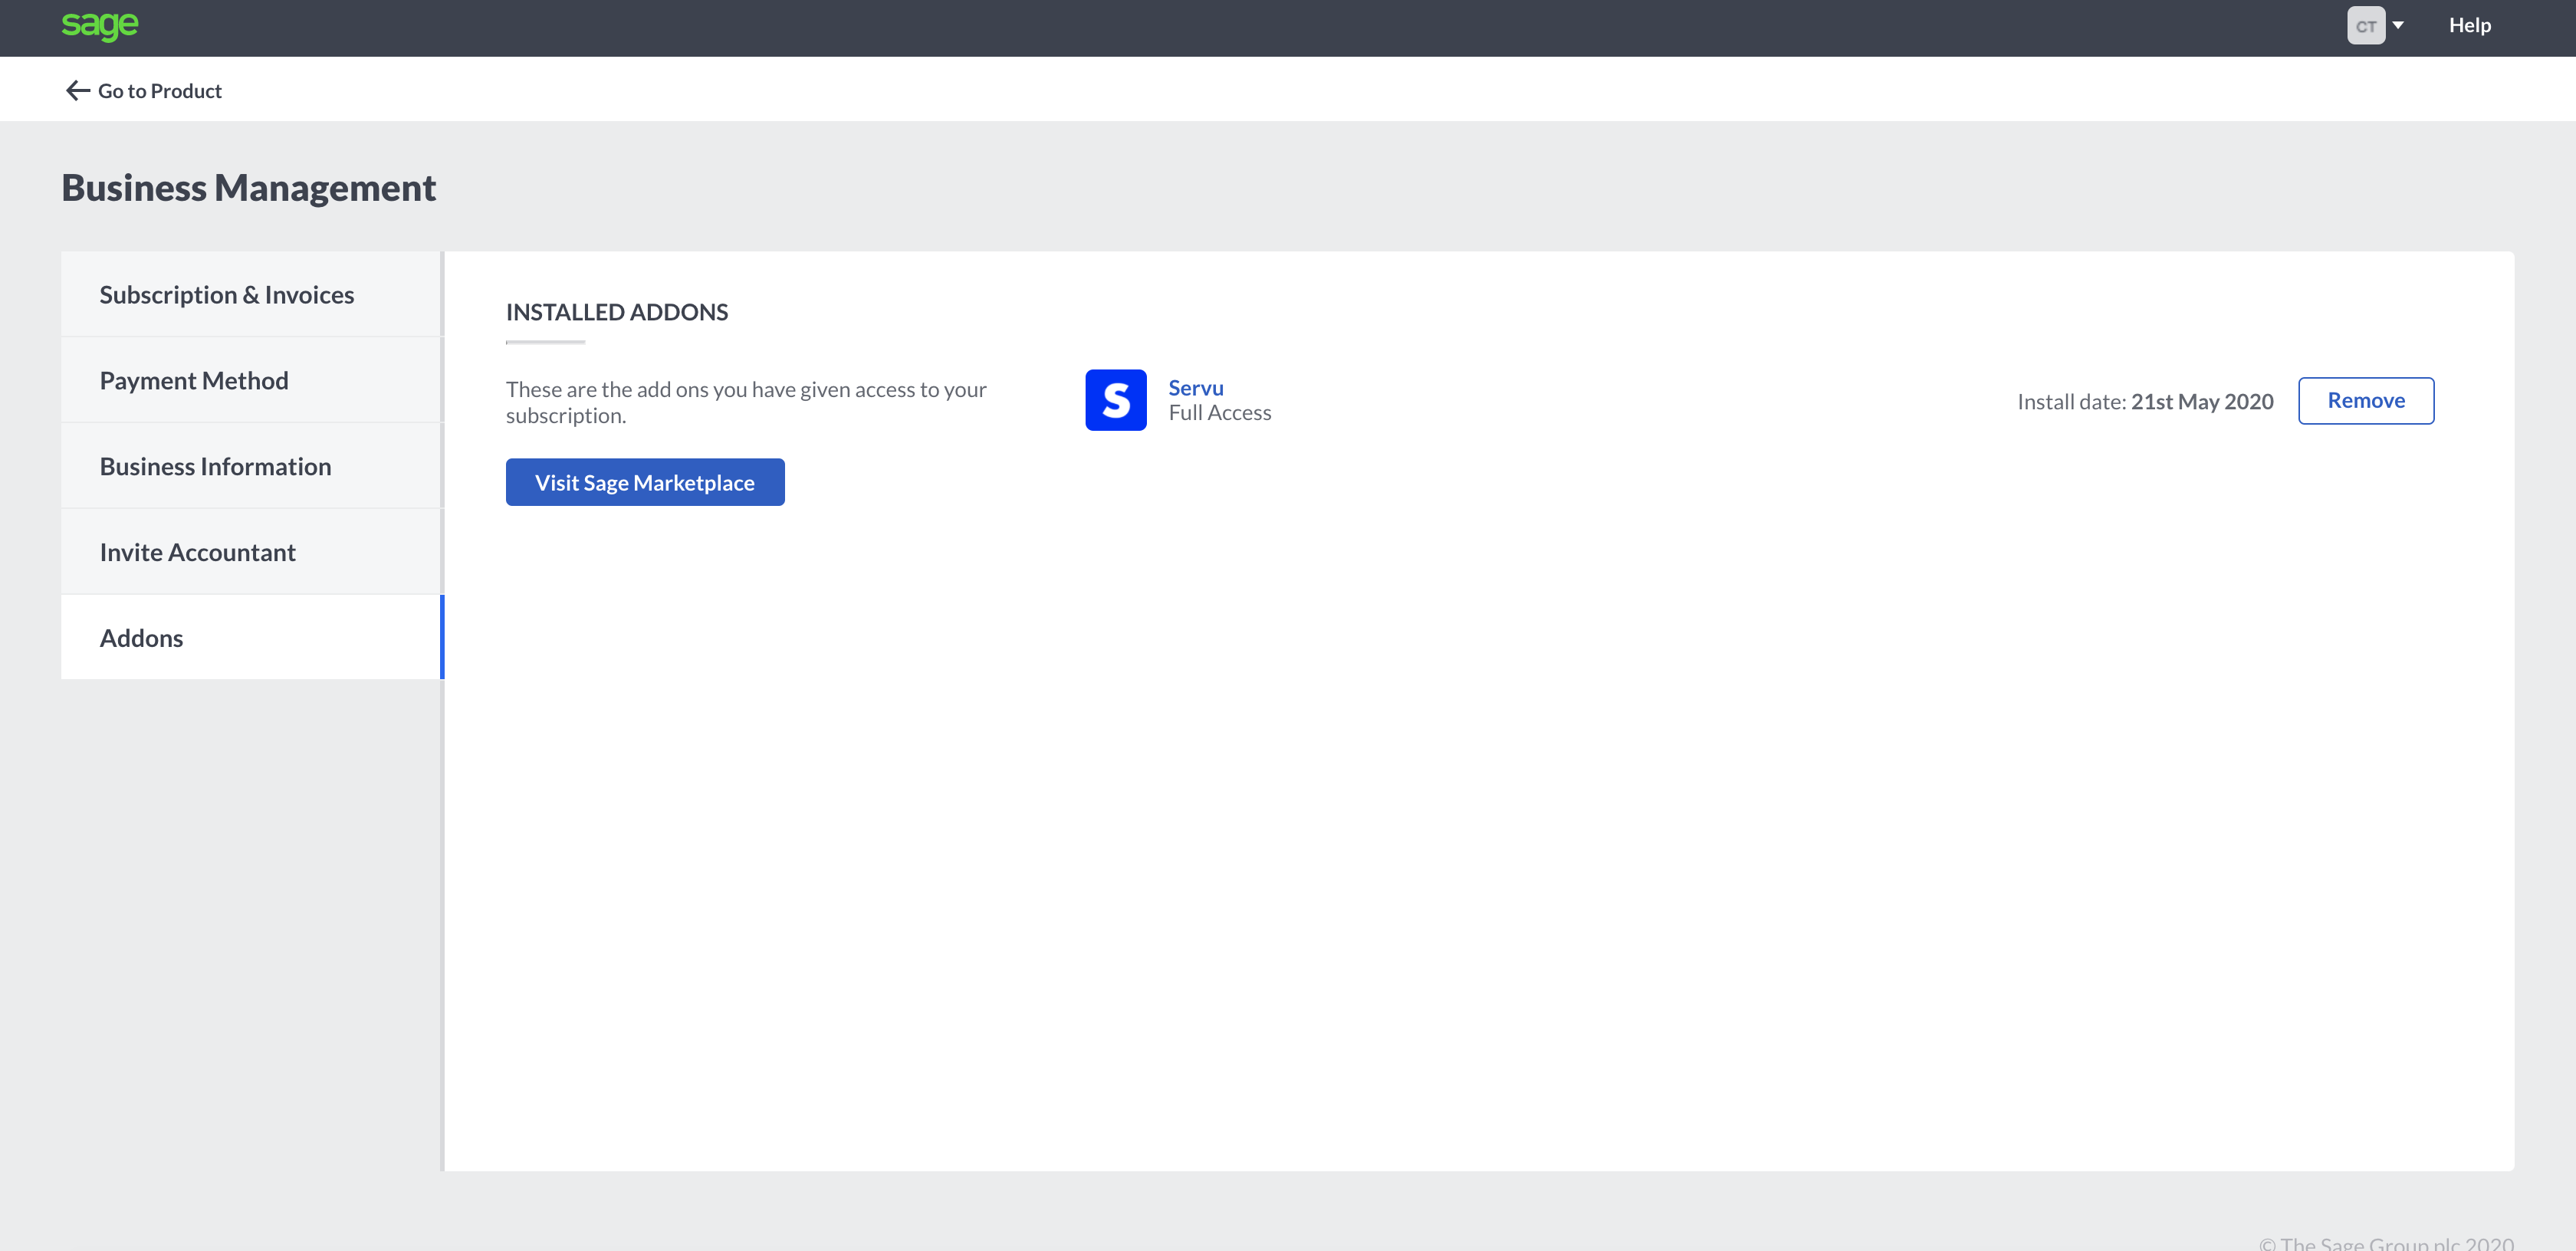
As an additional step, login to Sage, and access your Business Management page, click on Apps, and remove the Servu app: